搭建Android持续集成服务器
构建高质量的Android应用程序的挑战是什么?
- Android 本身
Android 设备本身,大量的Android变种对开发兼容的应用程序来说是一个极大的问题. 需要适配包括智能手机,平板,电视盒子(TV)等多种不同分辨率,不同内存大小,是否支持3G, 是否只有WIFI的设备. 这些硬件配置和软件版本的多样性和差异是必须要处理的. - 开发团队中使用不同的开发工具,操作系统版本(这点基本不是个问题,可以统一)
- 自动化构建
- 自动化测试
术语
宿主系统: Docker服务运行的系统,用于启动和运行容器
宿主系统需要安装的软件
安装 Docker
Docker 安装过程可参考之前写的一篇文章Docker - 在Ubuntu 14.04 Server上的安装Docker
安装Android SDK
1 | cd /opt wget http://dl.google.com/android/android-sdk_r23.0.2-linux.tgz tar zxf android-sdk_r23.0.2-linux.tgz echo 'export ANDROID_HOME="/opt/android-sdk-linux" export PATH="$ANDROID_HOME/tools:$ANDROID_HOME/platform-tools:$PATH"' >> ~/.bashrc source ~/.bashrc android update sdk --no-ui |
android update sdk --no-ui会下载所有的SDK版本, 总大小为6.9G,安装速度取决于你的网络下载速度,如果是做实验,建议在国外的VPS完成,打包并下载到本地.
下载特定版本的SDK,请参考 android list sdk --extended 获取安装组件ID, 并通过android update sdk --no-ui --filter android-19,tools,build-tools 安装需要的SDK版本和组件.
在容器中安装软件
启动一个容器,并进入交互式SHELL, 因为Android SDK比较大, 为避免产生的镜像文件过大, 我们采取mount的方式把/opt/android-sdk-linux挂载到容器中, 而不是采用复制文件的方式把Android SDK复制到容器中. /opt/android-sdk-linux在容器启动时通过-v参数挂载. 在容器中挂载宿主系统的文件系统的详细说明,可参考 Docker - 管理容器中的数据
1 | docker run -i -t -p 0.0.0.0:8080:8080 -v /opt/android-sdk-linux:/opt/android-sdk-linux ubuntu:14.04 /bin/bash === == == ==================== ================================================ ============ ========= | | | | | | | | | | | | | | | | 伪终端 暴露容器端口让外部访问 在容器中挂载宿主系统的文件系统目录 镜像名称 要运行的SHELL命令行 | | | 交互式 | 运行一个新容器 |
其中
-p 0.0.0.0:8080:8080是把容器内的8080端口映射到宿主系统的所有接口的8080端口上.-v /opt/android-sdk-linux:/opt/android-sdk-linux是把宿主系统的/opt/android-sdk-linux挂载到容器的/opt/android-sdk-linux位置, 格式为-v HOST_PATH:CONTAINER_PATH,:号前是宿主系统的文件系统路径,后面是容器的文件系统路径
安装JDK
1 | # 备份 sources.list cp /etc/apt/sources.list /etc/apt/sources.list.bak # 替换下载源 sed -i "s/cn.archive.ubuntu.com/debian.ustc.edu.cn/g" /etc/apt/sources.list # 更新 apt-get update # 安装需要用到的软件 apt-get install -y vim wget software-properties-common python-software-properties # 添加PPA仓库 add-apt-repository -y ppa:webupd8team/java # 再次更新 apt-get update # 安装Oracle JDK apt-get install -y oracle-java7-installer |
测试是否正确安装
1 | java -version |
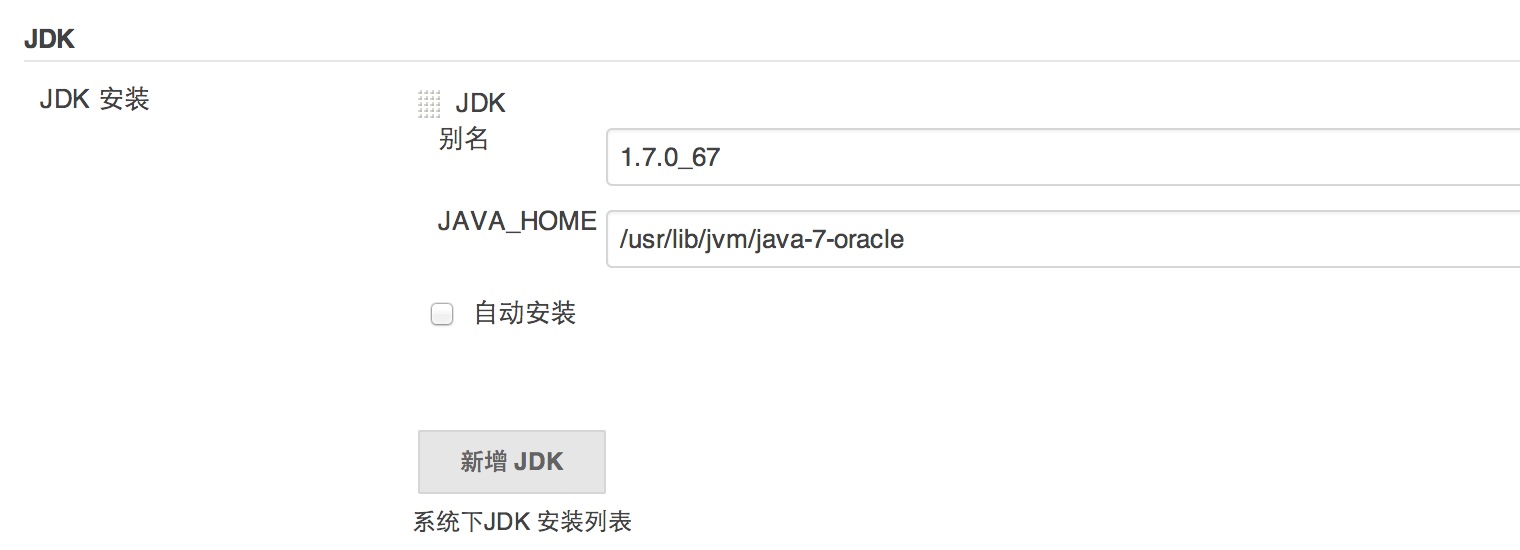
注意: 以PPA方式安装的JDK的
$JAVA_HOME位置为:/usr/lib/jvm/java-7-oracle
下载安装Tomcat
1 | cd /opt wget http://mirrors.cnnic.cn/apache/tomcat/tomcat-7/v7.0.55/bin/apache-tomcat-7.0.55.tar.gz tar zxf apache-tomcat-7.0.55.tar.gz wget http://mirrors.jenkins-ci.org/war-stable/latest/jenkins.war mv jenkins.war apache-tomcat-7.0.55/webapps |
安装git
1 | apt-get install -y git |
启动 Tomcat
1 | /opt/apache-tomcat-7.0.55/bin/startup.sh |
验证tomcat已运行
1 | # ps aux|grep tomcat root 51 138 1.3 5583040 218784 ? Sl 06:37 0:08 /usr/bin/java -Djava.util.logging.config.file=/opt/apache-tomcat-7.0.55/conf/logging.properties -Djava.util.logging.manager=org.apache.juli.ClassLoaderLogManager -Djava.endorsed.dirs=/opt/apache-tomcat-7.0.55/endorsed -classpath /opt/apache-tomcat-7.0.55/bin/bootstrap.jar:/opt/apache-tomcat-7.0.55/bin/tomcat-juli.jar -Dcatalina.base=/opt/apache-tomcat-7.0.55 -Dcatalina.home=/opt/apache-tomcat-7.0.55 -Djava.io.tmpdir=/opt/apache-tomcat-7.0.55/temp org.apache.catalina.startup.Bootstrap start root 69 0.0 0.0 8864 648 ? S+ 06:37 0:00 grep --color=auto tomcat |
如果出现类似第一行的输出,说明tomcat以及成功运行了.
安装 Gradle 构建工具
1 | wget -O /opt/gradle-2.0-all.zip https://services.gradle.org/distributions/gradle-2.0-all.zip cd /opt unzip gradle-2.0-all.zip echo 'export GRADLE_HOME="/opt/gradle-2.0" export PATH="$GRADLE_HOME/bin:$PATH"' > ~/.bashrc source ~/.bashrc |
验证是否安装正确:
1 | root@40e37aaff683:/opt/android-sdk-linux# gradle :help Welcome to Gradle 2.0. To run a build, run gradle <task> ... To see a list of available tasks, run gradle tasks To see a list of command-line options, run gradle --help BUILD SUCCESSFUL Total time: 1.666 secs |
Gradle 命令行参数
1 | root@27db60e7b953:/opt/android-sdk-linux/BigProject# ./gradlew --help USAGE: gradlew [option...] [task...] -?, -h, --help Shows this help message. -a, --no-rebuild Do not rebuild project dependencies. -b, --build-file Specifies the build file. -C, --cache Specifies how compiled build scripts should be cached. Possible values are: 'rebuild' and 'on'. Default value is 'on' [deprecated - Use '--rerun-tasks' or '--recompile-scripts' instead] -c, --settings-file Specifies the settings file. --configure-on-demand Only relevant projects are configured in this build run. This means faster build for large multi-project builds. [incubating] --continue Continues task execution after a task failure. -D, --system-prop Set system property of the JVM (e.g. -Dmyprop=myvalue). -d, --debug Log in debug mode (includes normal stacktrace). --daemon Uses the Gradle daemon to run the build. Starts the daemon if not running. --foreground Starts the Gradle daemon in the foreground. [incubating] -g, --gradle-user-home Specifies the gradle user home directory. --gui Launches the Gradle GUI. -I, --init-script Specifies an initialization script. -i, --info Set log level to info. -m, --dry-run Runs the builds with all task actions disabled. --no-color Do not use color in the console output. --no-daemon Do not use the Gradle daemon to run the build. --no-opt Ignore any task optimization. [deprecated - Use '--rerun-tasks' instead] --offline The build should operate without accessing network resources. -P, --project-prop Set project property for the build script (e.g. -Pmyprop=myvalue). -p, --project-dir Specifies the start directory for Gradle. Defaults to current directory. --parallel Build projects in parallel. Gradle will attempt to determine the optimal number of executor threads to use. [incubating] --parallel-threads Build projects in parallel, using the specified number of executor threads. [incubating] --profile Profiles build execution time and generates a report in the <build_dir>/reports/profile directory. --project-cache-dir Specifies the project-specific cache directory. Defaults to .gradle in the root project directory. -q, --quiet Log errors only. --recompile-scripts Force build script recompiling. --refresh Refresh the state of resources of the type(s) specified. Currently only 'dependencies' is supported. [deprecated - Use '--refresh-dependencies' instead.] --refresh-dependencies Refresh the state of dependencies. --rerun-tasks Ignore previously cached task results. -S, --full-stacktrace Print out the full (very verbose) stacktrace for all exceptions. -s, --stacktrace Print out the stacktrace for all exceptions. --stop Stops the Gradle daemon if it is running. -u, --no-search-upward Don't search in parent folders for a settings.gradle file. -v, --version Print version info. -x, --exclude-task Specify a task to be excluded from execution. |
配置Android项目
如果项目是通过ADT 22.0以上版本开发的,你可以通过 File -> Export, 然后选择 Android -> Generate Gradle build files导出构建脚本. 你也可以在终端中切换到项目目录下运行android update project -p .生成需要的构建文件.
安装32位库
操作系统是64位的, 编译过程中 aapt需要libstdc++的32位版本. 安装需要的32位软件包
1 | apt-get install lib32stdc++6 lib32z1 lib32z1-dev |
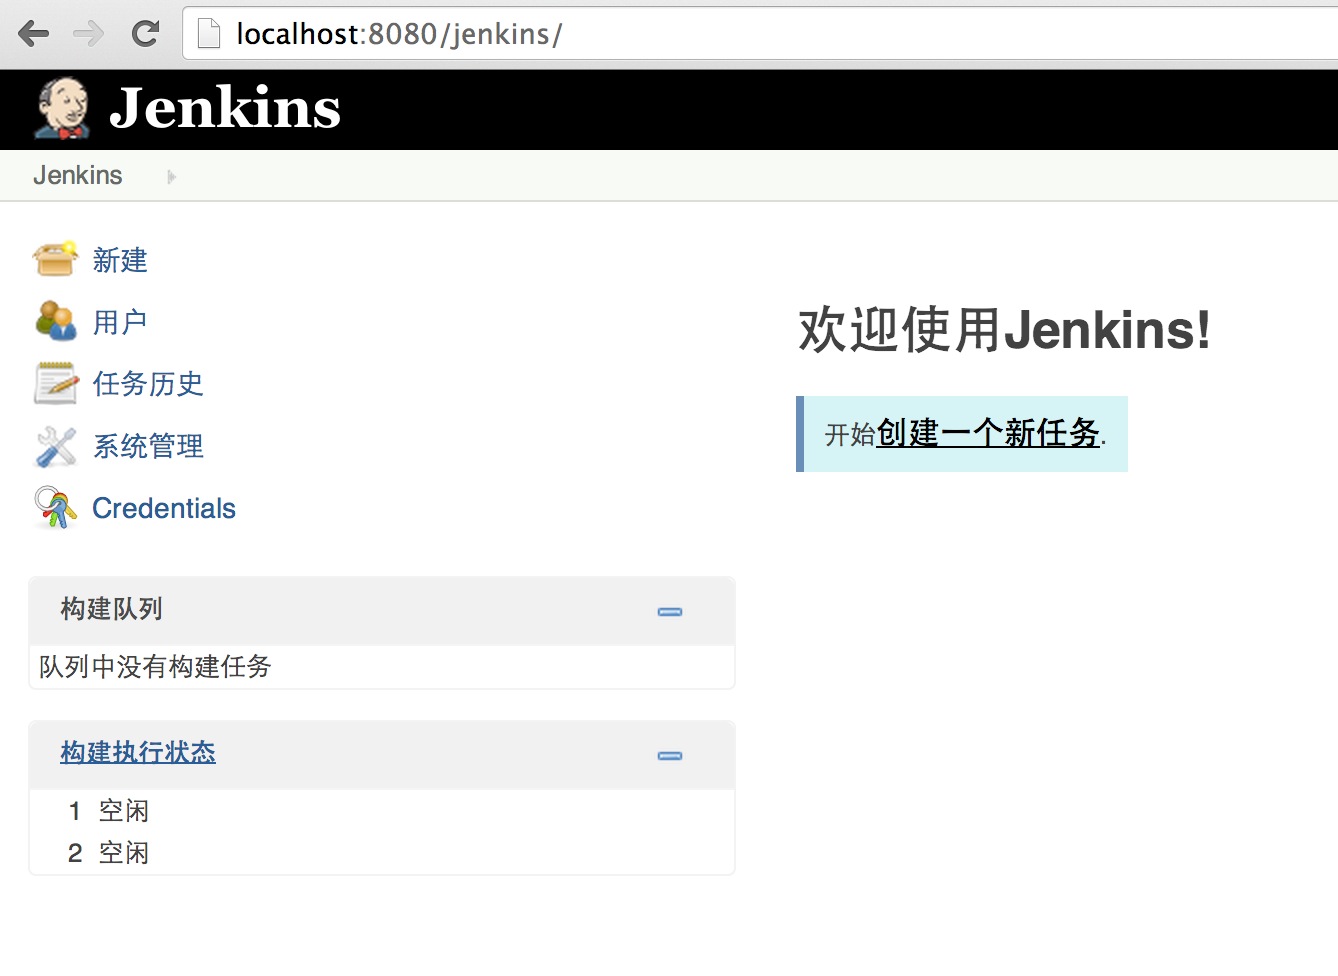
配置 Jenkins
浏览器中输入 http://localhost:8080/jenkins 打开 Jenkins 主页
设置JDK路径
安装插件
- Gradle plugin
- Sonar Plugin
- Email Extension Plugin
- Git Plugin
配置邮件通知
注意: 如果使用腾讯企业邮箱,系统管理员的邮件地址和邮件测试发件人的地址必须一致,否则会出现错误: 501 mail from address must be same as authorization user
1 | # Gmail 邮件服务器: smtp.gmail.com 端口: 465 # QQ Exmail xf 邮件服务器: smtp.exmail.qq.com 端口: 465 |
上述端口465需要勾选使用SSL协议复选框, 如果使用非加密方式收发邮件, 取消使用SSL协议复选框,端口改为25
配置Git仓库
1 | // TODO |